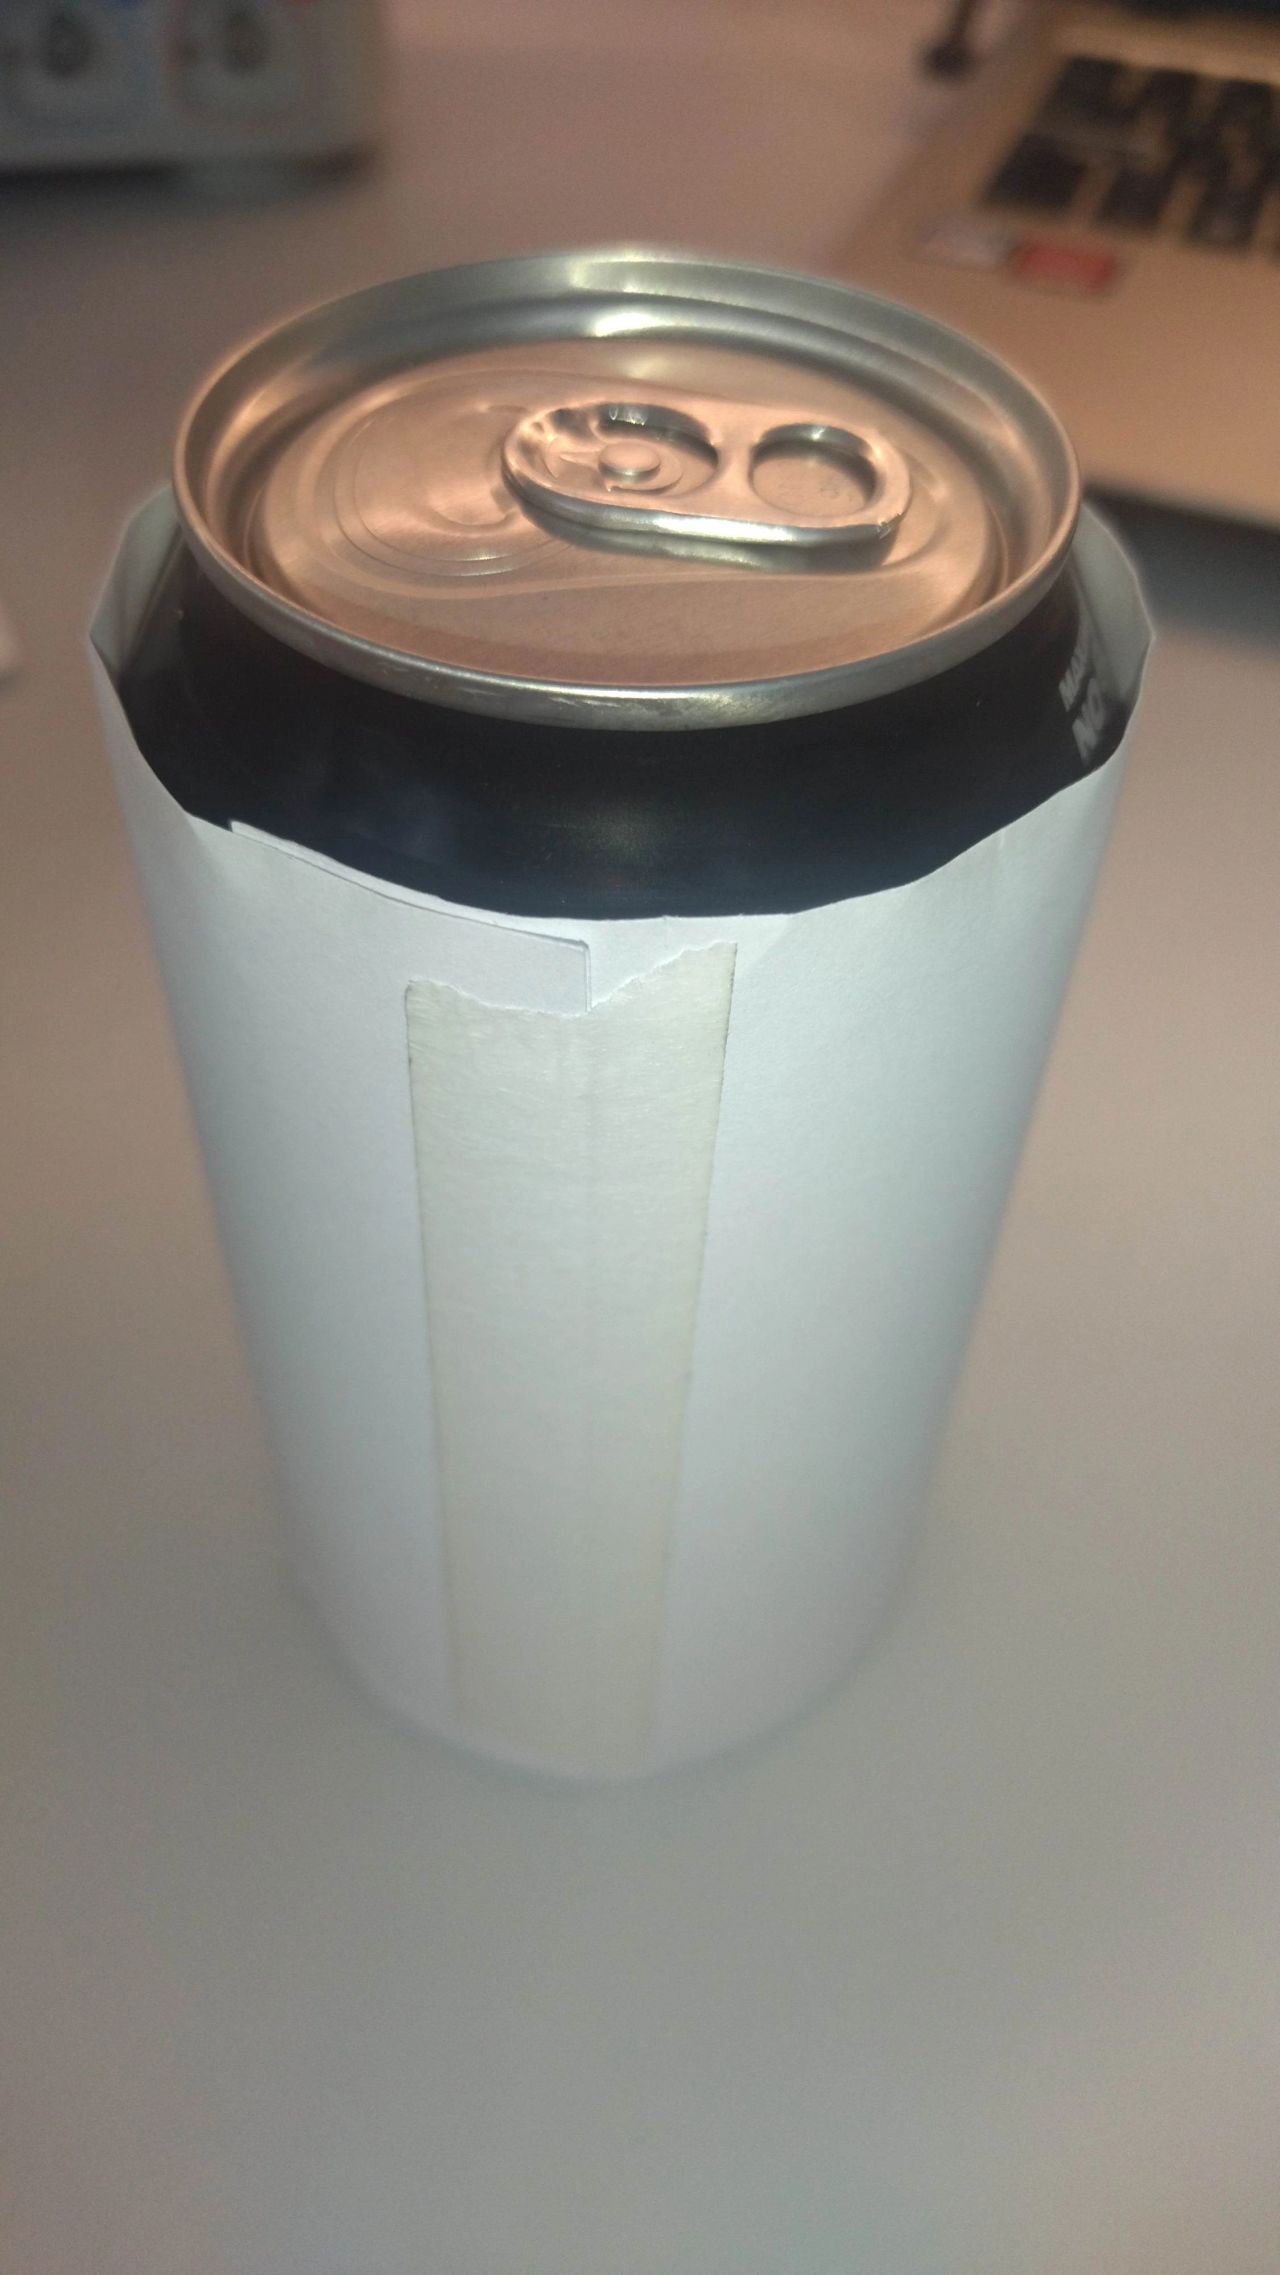
Take something of a fitting diameter that is as smooth as the side of a full, unopened soda can.
Wrap a double layer of printer paper on it. Once bent, for instance. Fix it with tape as a tube, but let it be just about slidable over the can. This layer is helpful in many ways; Just add it.
Wrap one layer of duct tape around, with the sticky side out, as wide as the coil must be, plus 1 cm.
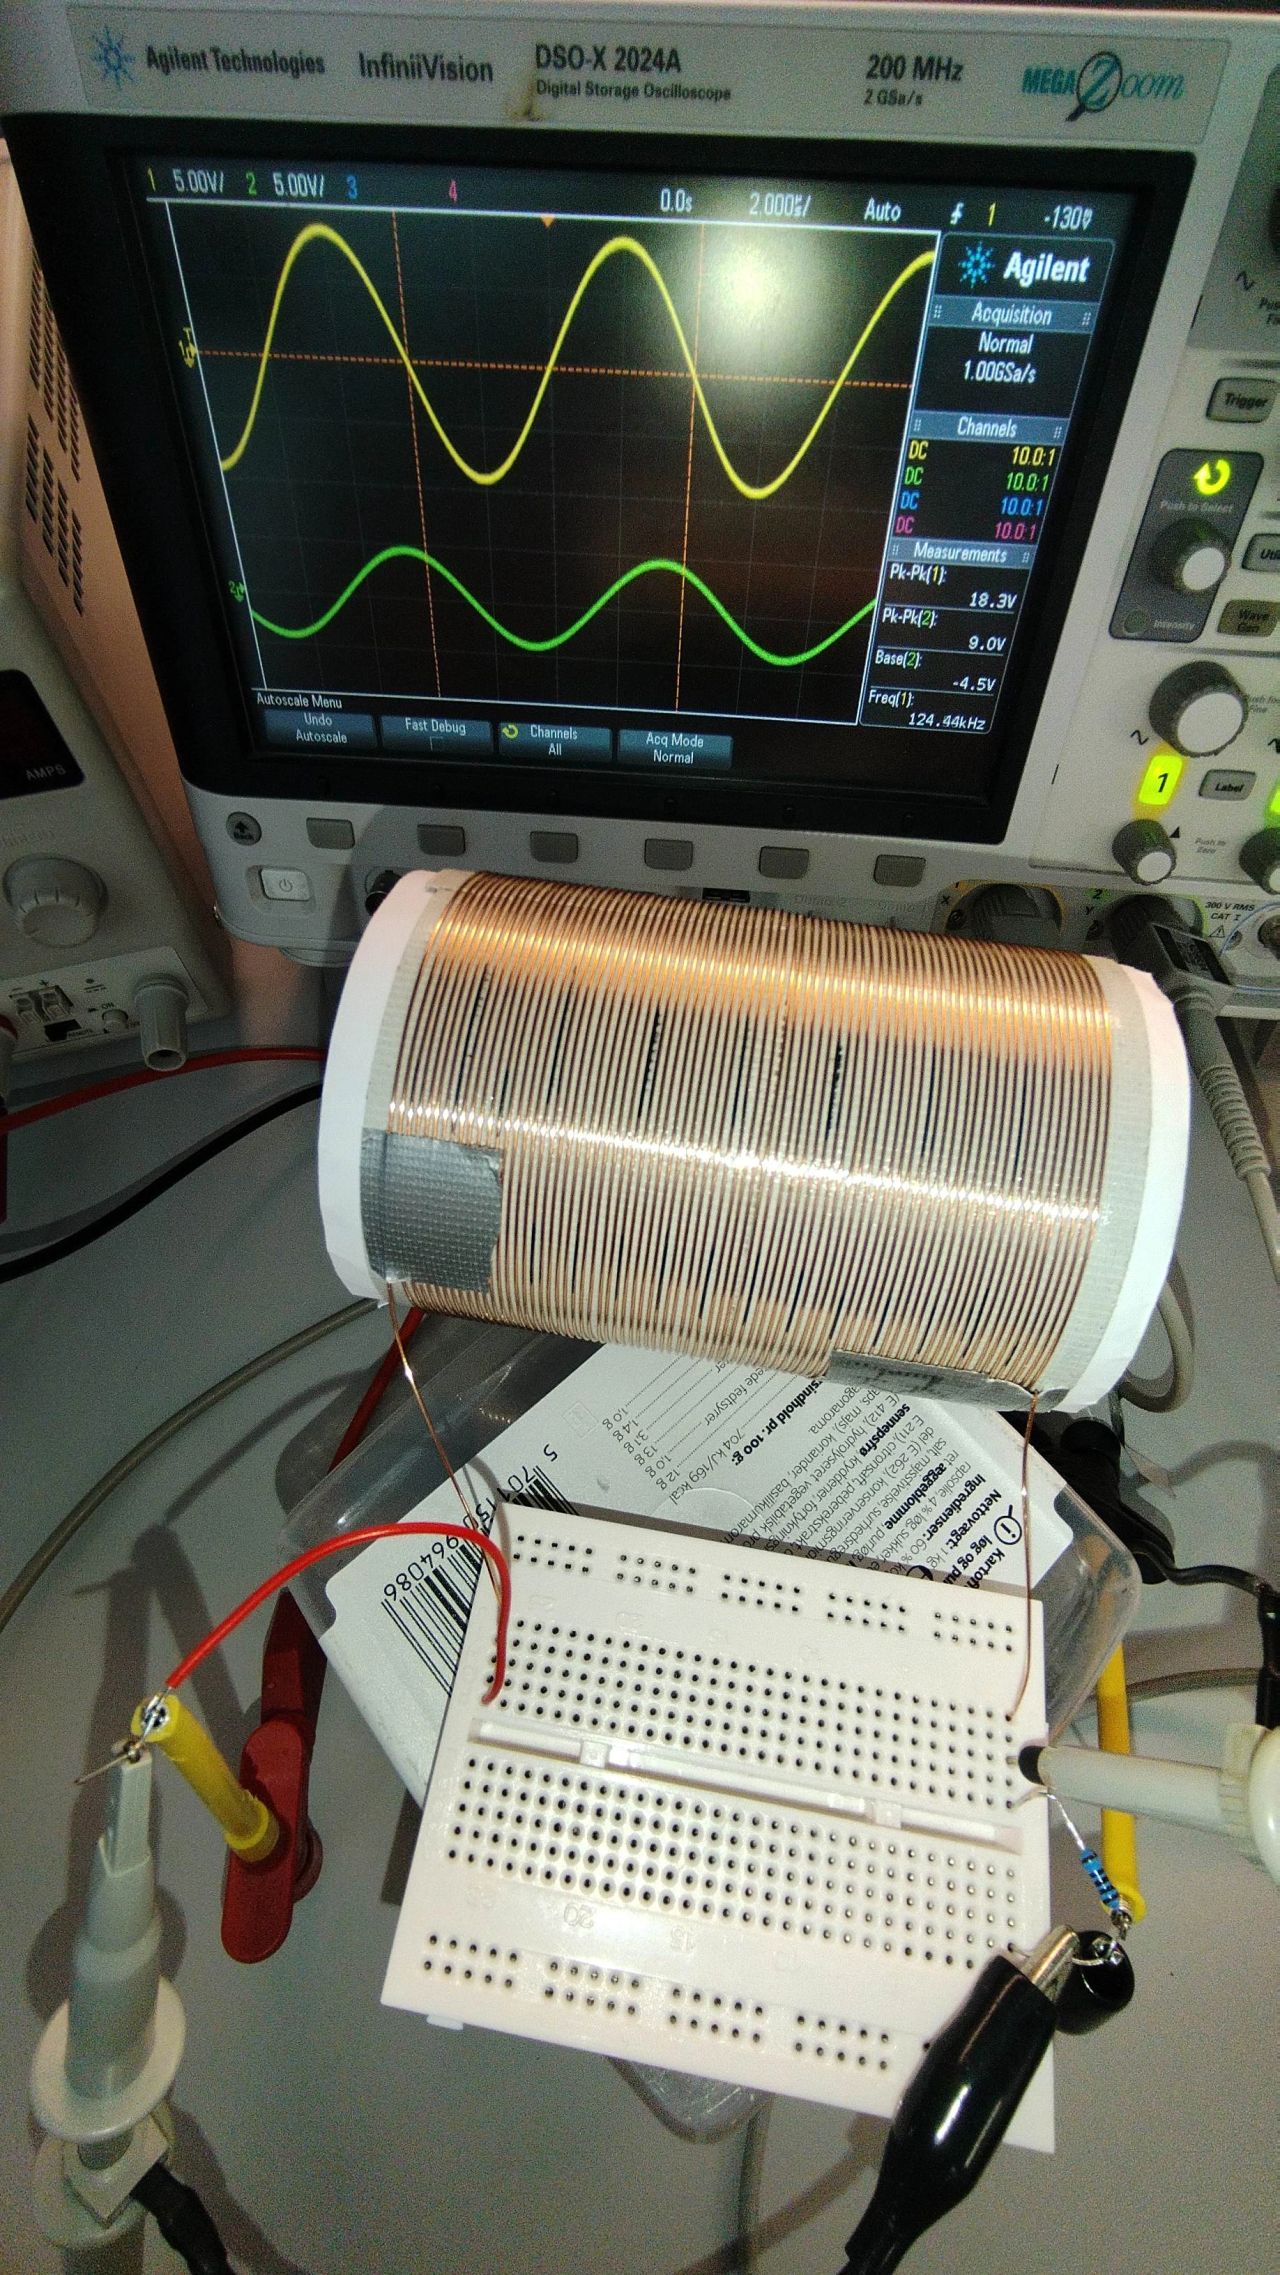
Take your enameled copper wire, the thickness you want to use. Could be 0.5 mm, as shown on the image. Make 5 m length or more of it, as a separate cut. This is the sacrificial wire. (Same diameter, or almost!)
Now wind the sacrificial wire next to the main wire around the can. As close to each other as possible. Never crossing each other and tight together. As you come around, new winds go next to the old, tight together.
When the sacrificial wire ends, stop. Unwind the sacrificial wire (only), and rewind half a round backwards. Now you can reuse those sacrificial meters of wire as a gap-holder, several times.
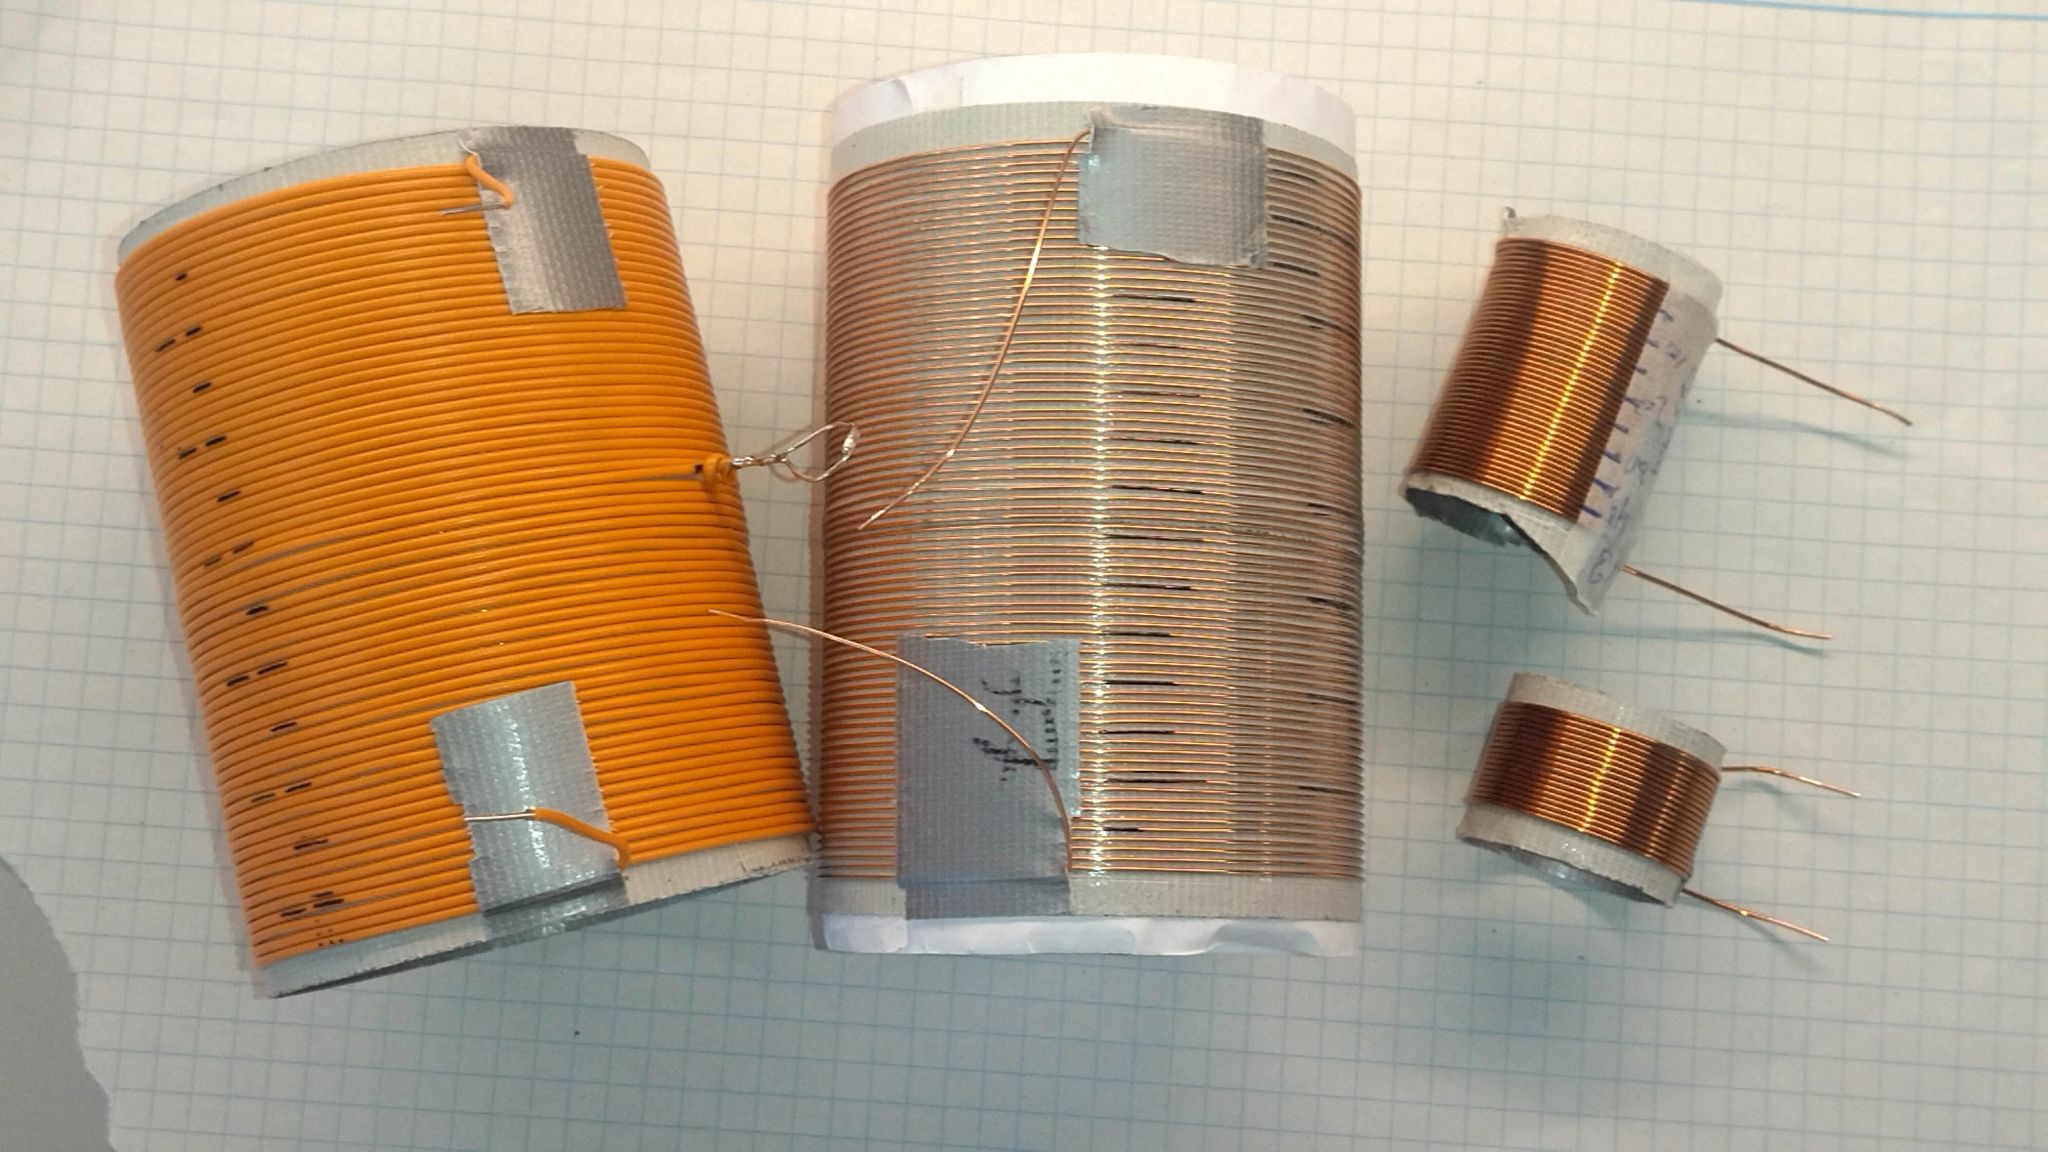
With patience, you end up with a nicely spaced inductor as in the picture.
I’m on a playful hunt for an inductor to the 13.8825 MHz bandpass filter. I’m not sure I will get there; hence the ‘playful’.
At least I finally found a way to handle enameled copper wire for DIY inductors.